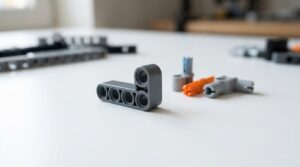
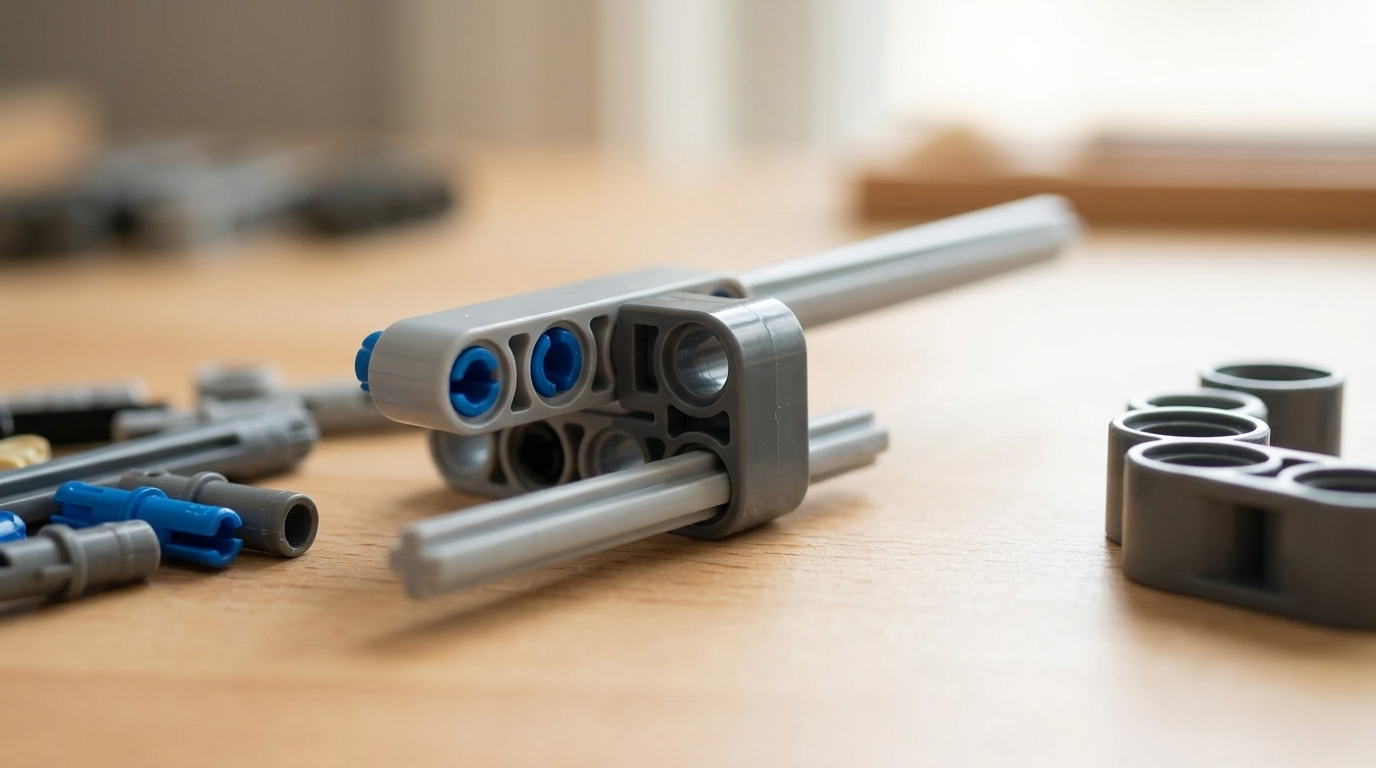
If you’re researching LEGO part 32557 compatibility, you’re probably doing one of three things: planning a compact corner in a MOC, replacing a missing connector in a Technic set, or buying a small bulk lot and hoping it will “just work” everywhere. Part 32557 is a handy right-angle connector, but it’s also the kind of piece that can create unexpected stress when you force alignment or mix pin types.
Builder note
Check the exact part before you buy
For LEGO Technic part 32557, confirm the part number, color, quantity, seller, and current condition before adding it to a build or replacement order.
This guide explains what “perpendicular double” means in practice, which connections tend to be smooth and repeatable, and how to do quick fit checks so you don’t end up with twisted frames or cracked/whitened pins.
What “perpendicular double” means (in builder terms)
In everyday Technic building language, “perpendicular” means the connector is designed to join elements at a right angle (90°). “Double” refers to having two connection points in each direction (two holes in one axis and two holes in the other), so you can create a compact corner that’s easier to brace than a single-hole 90° connector.
- Perpendicular layout: two pin holes oriented along one direction, and two pin holes oriented 90° to that direction.
- Goal: a small, rigid corner that can tie beams/frames together without needing a large L-shaped bracket made from multiple parts.
- Where it shines: tight chassis corners, boxed-in bracing, and neat right-angle transitions where you want holes aligned on-grid.
Compatibility mindset: 32557 is at its best when it’s treated like a precision corner block. If you’re asking it to “pull” misaligned beams into position, you’re building in stress.
What does Technic 32557 connect to?
Most builders use 32557 with standard Technic elements that share the same hole system. In practice, you’ll typically pair it with:
- Technic beams/liftarms (thin or thick) using pins
- Technic frames (rectangular frames) where you need a tidy corner tie-in
- Pin joinery (friction pins vs. frictionless pins) depending on whether you need rigidity or free movement
When someone asks “what does Technic 32557 connect to?”, the most useful answer is: it connects cleanly to anything that’s properly aligned to the Technic hole grid, using the right pin type for the job.
Pin choice: the quiet source of “too tight” vs. “too loose”
Many “compatibility” problems are really pin selection problems. As a quick rule of thumb:
- Use friction pins when the corner must stay locked (bracing, chassis corners).
- Use frictionless pins when you’re intentionally allowing movement (a linkage that needs to pivot smoothly).
If you’re stocking up on compatible replacements, it can be convenient to buy a bulk pack of the connector itself and then tune the feel with the pin type you already trust. If you want a quick way to compare availability, you can check the current Amazon listing for a 32557-compatible bulk option.
Common 32557 connector assemblies (that stay sane under stress)
Below are proven, repeatable patterns for 32557 connector assemblies that usually build cleanly—assuming your beams are aligned on-grid and your pins aren’t worn out.
1) Compact right-angle corner bracing (the “box it in” pattern)
This is the classic use: creating a small 90° corner between two beams or a beam and a frame edge.
- Best for: chassis corners, rectangular subframes, mounting points for panels
- How to make it stronger: brace the corner by tying each side into an additional beam/frame hole nearby (don’t leave the corner as a lone hinge point)
- Common mistake: using the connector to “square up” a rectangle that’s already slightly off—this can permanently preload the structure
2) Compact corner inside a Technic frame (space-saving reinforcement)
If you’re building with Technic frames, 32557 can help connect a beam into a frame edge in a way that doesn’t stick out as much as longer angled assemblies.
- Best for: tight interiors where a long connector would collide with gears/axles
- Bracing tip: aim for two attachment points on each member whenever possible so the corner doesn’t twist under load
3) Linkage or control geometry support (use carefully)
Builders sometimes use perpendicular connectors as part of a mounting point for a linkage (for example, to anchor a pivoting beam nearby). This can work well, but don’t assume 32557 itself is a precision bearing surface.
Compare listings
Match color, quantity, and compatibility
Small Technic connector listings can vary by color, pack size, and seller. Verify the live listing details before choosing.
- Best for: holding geometry in place, supporting a nearby pivot point
- Avoid: forcing a moving linkage to rub hard against the connector—friction and wear will show up fast
If you’re experimenting and want extra pieces on hand for iteration, you can see the latest price on Amazon for a 50-piece compatible lot (handy for prototyping corners without constantly rebuilding the same one).
Perpendicular Technic connector bracing: stress-free habits
When people search for perpendicular Technic connector bracing, they’re often trying to solve one of these problems: a corner that flexes, a frame that twists, or connections that feel “grindy” going together. These habits reduce all three.
Do a dry alignment check before inserting the last pin
Build the corner loosely first, then confirm holes line up naturally. If the last hole is off by even a fraction, don’t muscle it—something upstream is shifted.
- If you have to bend beams to insert the final pin, you’re building in stress.
- If the structure springs when you release it, you’re building in preload.
Brace in triangles or boxes, not long floppy right angles
Right angles become rigid when you stop them from racking. Add a second connection point or a short cross-member so loads don’t concentrate at a single connector.
- Good: corner + short beam tying one side into a second hole
- Better: corner + second connector/beam to create a closed rectangle section
Avoid forced angles and “almost 90°” geometry
32557 is happiest at clean 90° geometry. If your build is intentionally slightly off-angle (because of bodywork, suspension travel, or creative shaping), use an articulation-friendly approach elsewhere rather than forcing 32557 to become an angle adapter.
Fit checks: how to tell if it’s tight for the right reason
Use these quick checks before you commit to repeating an assembly across a whole chassis.
1) Insertion resistance: smooth push, not a crunch
- Normal: steady resistance (especially with friction pins) and a clean “seat.”
- Not normal: sudden hard stops, pin whitening, or needing to twist aggressively to insert.
2) Alignment: the “two-finger test”
Hold the parts so holes are aligned and try inserting a pin with two fingers. If it only goes in when you grip-and-torque, stop and re-check hole alignment. Misalignment is the #1 cause of stress marks and cracked pin ends over time.
3) Parallelism: check for twist after assembly
Once assembled, sight down the beams/frames. If you see a slight corkscrew twist, something is being pulled off-grid. Back out one pin, let the parts relax, and rebuild the corner with better alignment.
Troubleshooting: too tight, too loose, or “it squeaks”
| Symptom | Likely cause | Fast fix |
|---|---|---|
| Pin is very hard to insert | Hole misalignment or preloaded frame | Disassemble and rebuild loosely; align holes first; avoid forcing the last pin |
| Connection feels loose/wobbly | Using frictionless pins, or pins/holes are worn | Swap to friction pins where movement isn’t needed; replace worn pins |
| Corner twists under load | Only one attachment point per side; long lever arms | Add a second tie-in point (short beam, additional connector, or frame link) |
| Squeaking/grinding during movement nearby | Unintended rubbing between moving linkage and connector | Add clearance, re-route linkage, or change pin/axle spacing |
| Pins show whitening or stress marks | Forced insertion, old brittle pins, or repeated torque | Stop forcing; replace suspect pins; rebuild with correct alignment |
Before you buy 50 of them: a practical checklist
Bulk-buying can be smart—especially for MOCs or hobby reselling—but it’s worth doing a quick compatibility reality check first.
- Confirm the job: are you using 32557 for rigid bracing, or do you actually need a connector designed for a moving joint?
- Check your pin inventory: do you have enough friction pins vs. frictionless pins to tune stiffness correctly?
- Decide on color needs: will the connector be visible (aesthetic match) or buried (any color acceptable)?
- Plan for wear items: if you’re rebuilding often (kids’ builds, classroom bins), expect pins to wear first—budget for replacements.
- Verify real set usage: before copying an assembly you saw in a photo, browse sets containing 32557 on BrickLink to confirm how the part is commonly oriented and supported.
If you’re ready to stock up for prototyping or spares, you can compare current colors on Amazon (and double-check that the listing matches your preferred shade and quantity before ordering).
Technic frame corner connector tips (quick wins)
- Build square first, then lock: assemble the frame/rectangle loosely, square it up, then insert the remaining pins.
- Spread load paths: don’t let one 32557 be the only thing resisting twist—add a nearby tie-in.
- Don’t “correct” warped beams with it: if a beam is bent or a frame is already twisted, replace the problem part rather than using the connector to force it straight.
- For parents helping kids: if a connection needs adult-strength force, it’s usually a sign to re-check alignment—not a sign to push harder.
Conclusion: compatibility is mostly alignment + pin choice
Part 32557 is a small piece with a big impact on how clean your Technic corners feel. Treat it as a precision 90° connector, keep your holes aligned before you lock the final pin, and brace corners with more than one attachment point per side. If something feels too tight or too loose, the fix is often as simple as swapping the pin type, re-checking alignment, or replacing worn pins.
And if you want to sanity-check “real world” usage, take a minute to browse sets containing 32557 on BrickLink—seeing how official builds support and brace the connector is one of the fastest ways to level up your own MOC reliability.